
 Open full-size chart ↗
Review the history. Keep your chart clean.
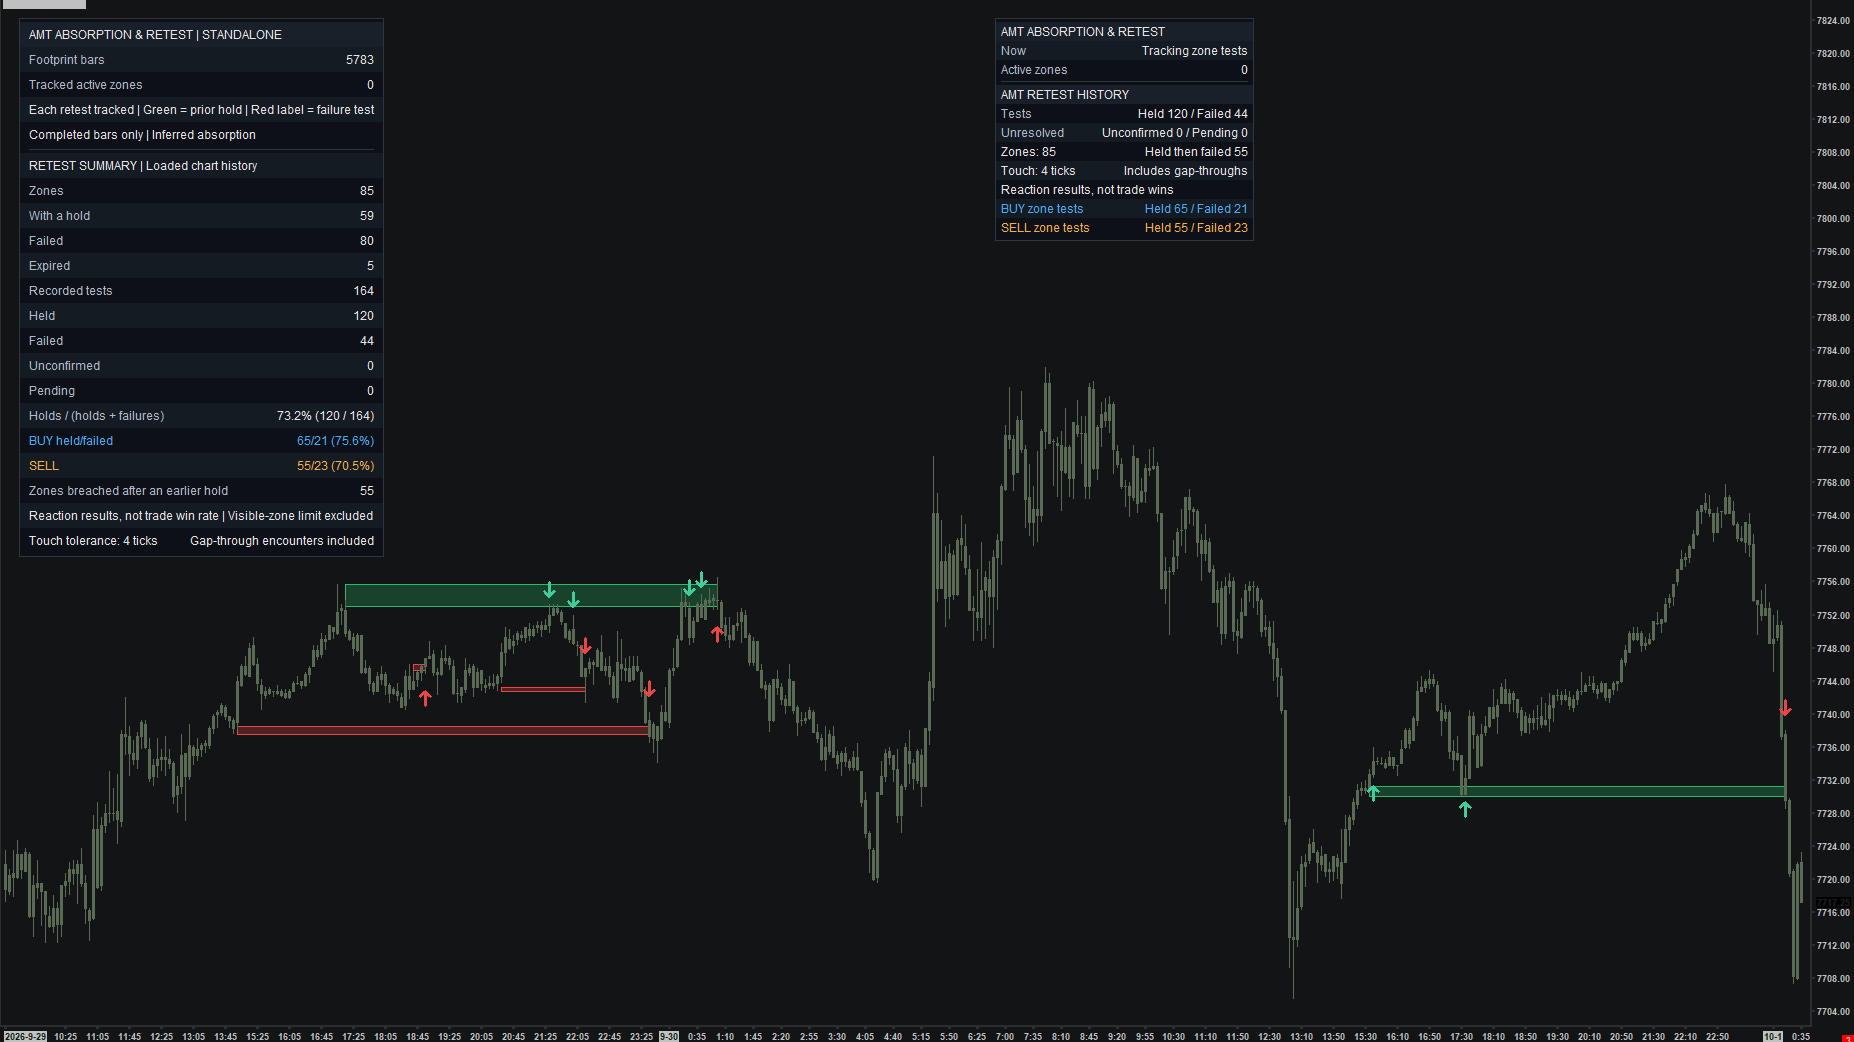
The detailed tables and historical labels help you verify, study, and learn how price reacted. Compact and detailed views are shown together here for comparison. Use the study display settings to show or hide supported after-reaction details; once familiar with the levels, keep your live trading chart as clean as you prefer. Historical observations are not trade win rates.
Beyond the free Toolkit
What this adds to Absorption Zones
In the free Toolkit
Finds footprint delta clusters, requires initial rejection, and draws zones with invalidation and optional expiry.
In paid Order Flow
Adds cluster-quality filters and a first-retest lifecycle, including in-zone delta and reaction-close requirements for a hold, with hold/failure history.
Evaluate the first test using explicit price and delta conditions after the original zone forms.
Explore the free Absorption Zones study →What it shows
The study finds footprint delta clusters across consecutive price levels. A qualifying cluster needs initial price rejection before becoming an absorption zone to monitor. Later arrows distinguish retest holds from failures.
How to read it
- Treat the cluster as concentrated aggression, not proof of a particular trader's resting orders.
- Wait for initial rejection and a later retest. A hold requires the configured reaction close and favorable in-zone delta.
- Check whether the zone held, failed, or expired rather than treating every visible zone as active.
Settings that matter
Cluster threshold, consecutive prices, initial rejection window, retest tolerance, and hold confirmation govern qualification. Zone Invalidation selects wick or close beyond the far edge. A level filter is optional.
Example sequence
Selling concentrates near a low, but price closes away from it. A later return tests whether price response and in-zone delta confirm a buy-side hold.
What to keep in mind
Absorption is inferred from executed volume and price response. Historical volume-at-price data is required. Calculations use completed bars.